

Winter road trips from the Tri-Cities to Seattle or Portland are some of the most beautiful drives in the Pacific Northwest. They can also be some of the most challenging due to winter weather and mountain pass conditions. Before you hit the road this winter, make sure your Hyundai is ready and you know what to expect along the way. Here is your complete Tri-Cities, WA road trip guide for driving from the Tri-Cities to Seattle or Portland this winter season.
Before You Go: Prepare Your Hyundai for Winter Driving
Winter road trips through Washington mountain passes demand a well-prepared vehicle. Make sure your tires have adequate tread depth and are properly inflated before departure. Check your coolant, battery, wiper blades, and all fluid levels before heading out. Our service team at Speck Hyundai in Kennewick can perform a complete winter vehicle inspection before your trip. A properly prepared Hyundai gives you the confidence to handle whatever winter conditions you encounter on the road.
Best Route From Tri-Cities to Seattle
The best route from Tri-Cities to Seattle in winter is I-82 West to US-97 North to US-2 West through Stevens Pass. An alternative popular route is I-82 West to I-90 West through Snoqualmie Pass toward Seattle. Both routes involve crossing a mountain pass and both are subject to winter weather closures and chain requirements. The drive from the Tri-Cities to Seattle is approximately 220 miles and takes between three and a half to four and a half hours depending on conditions.
Step-by-Step Directions: Tri-Cities to Seattle via Snoqualmie Pass
Step 1: Start by heading west on I-82 West from Kennewick toward Yakima. Follow I-82 West through the Yakima Valley for approximately 75 miles.
Step 2: Merge onto I-90 West near Ellensburg toward Seattle. Follow I-90 West toward Snoqualmie Pass and the greater Seattle area.
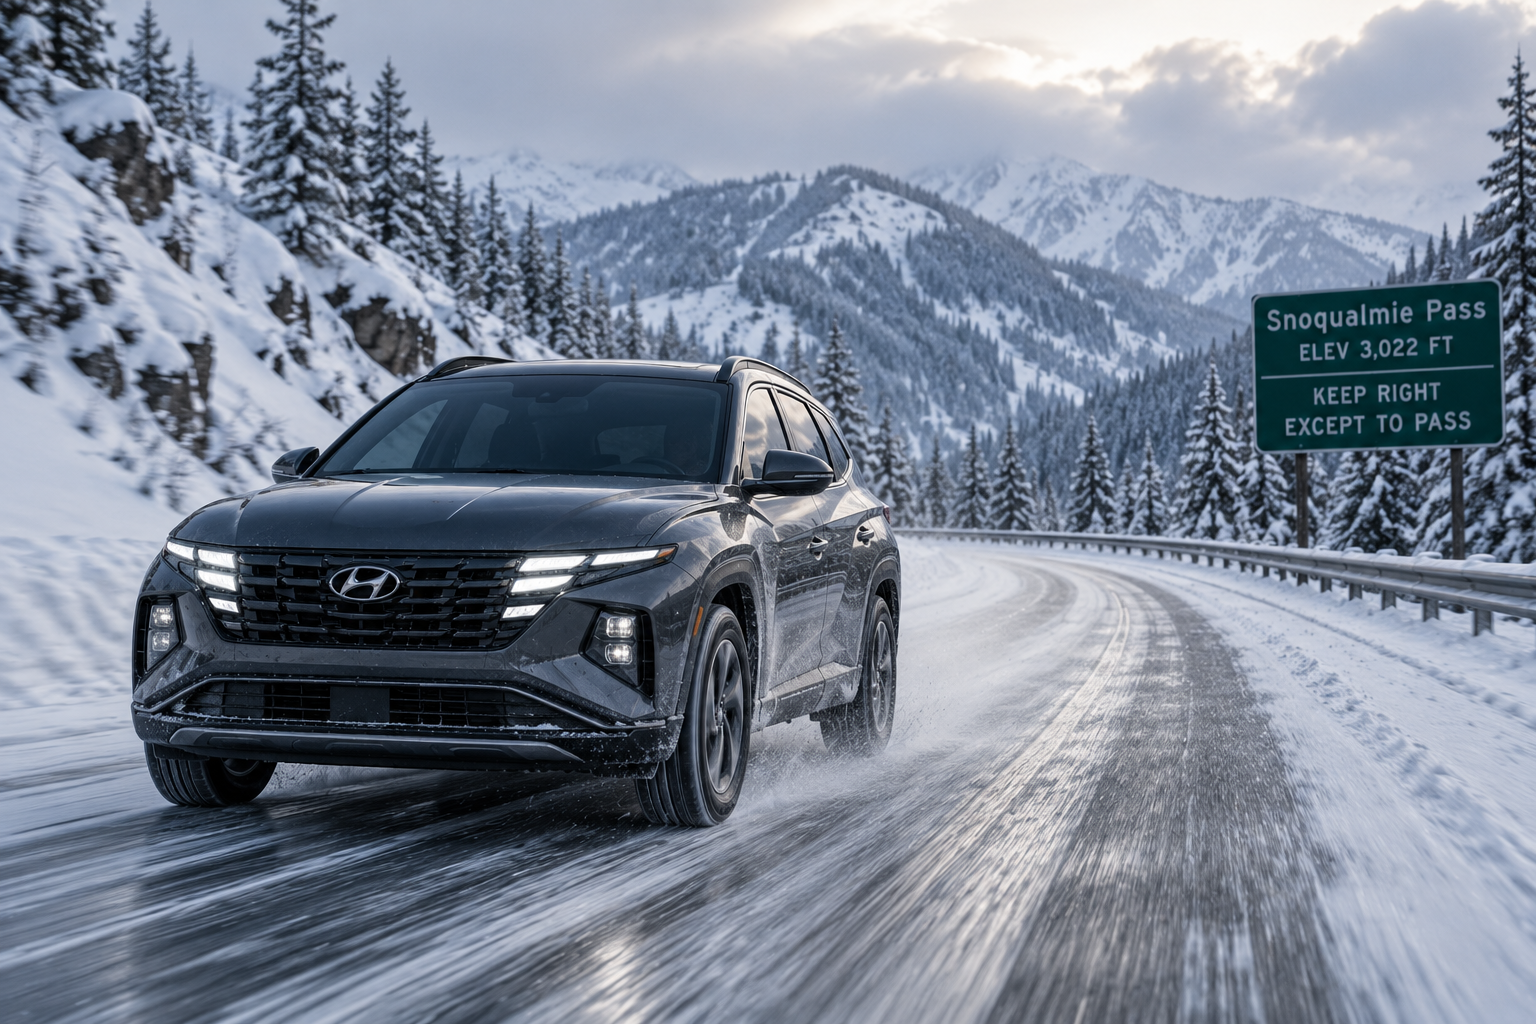
Step 3: Cross Snoqualmie Pass on I-90 West. Snoqualmie Pass sits at an elevation of 3,022 feet above sea level.
Step 4: Continue on I-90 West down the western slopes of the Cascades toward Bellevue and Seattle. Follow I-90 West into downtown Seattle or take SR-405 North toward the Eastside communities.
Typical Winter Conditions: Tri-Cities to Seattle
Snoqualmie Pass is the most challenging section of the Tri-Cities to Seattle drive in winter. Here is what to expect on this route during winter months:
- Snoqualmie Pass receives an average of 450 inches of snowfall per season
- Chain requirements are frequently implemented during heavy snowfall events on I-90
- The pass is occasionally closed temporarily during severe winter storms and avalanche control
- Compact snow and ice are common on I-90 between Ellensburg and North Bend during winter months
- Winter storms can reduce visibility significantly on the open highway between Ellensburg and the pass
- Always check the Washington State Department of Transportation website at wsdot.wa.gov before departure
- The WSDOT Mountain Pass Report provides real-time pass conditions and chain requirement updates
Alternative Route: Tri-Cities to Seattle via US-2 Stevens Pass
Some Tri-Cities to Seattle winter travelers prefer the US-2 route through Stevens Pass. This route takes you north through Wenatchee before heading west over Stevens Pass toward Everett and Seattle. Stevens Pass sits at an elevation of 4,061 feet and receives heavy snowfall during winter months. Chain requirements and occasional closures are also common on US-2 during severe winter weather events. Both routes are approximately the same driving distance from the Tri-Cities to the Seattle area.
Best Route From Tri-Cities to Portland
The most popular Tri-Cities to Portland drive route follows I-82 West to I-84 West along the Columbia River Gorge into Portland, Oregon. This route does not cross a major mountain pass making it generally more accessible during winter weather than the Seattle routes. The drive from the Tri-Cities to Portland is approximately 215 miles and takes between three to four hours depending on traffic and weather conditions.
Step-by-Step Directions: Tri-Cities to Portland via I-84
Step 1: Start by heading west on I-82 West from Kennewick toward the Yakima Valley. Follow I-82 West through Yakima and Sunnyside toward the Columbia River Gorge.
Step 2: Continue on I-82 West as it follows the Yakima River through the gorge toward the Columbia River. Pass through Grandview, Sunnyside, and Prosser on the way toward the Gorge.
Step 3: Merge onto I-84 West at the junction near Boardman, Oregon. Follow I-84 West along the Columbia River through the Columbia River Gorge toward Portland.
Step 4: Continue on I-84 West through Hood River and Cascade Locks toward Portland. Follow I-84 West into downtown Portland or take I-205 South toward the southern Portland area.
Typical Winter Conditions: Tri-Cities to Portland
The Tri-Cities to Portland drive via I-84 is generally more winter-friendly than the mountain pass routes to Seattle. However, winter conditions along this route can still be challenging. Here is what to expect during winter months on the I-84 corridor:
- The Columbia River Gorge is known for extreme wind events that can affect driving safety significantly
- Ice and freezing rain are possible in the Gorge during winter cold snaps and temperature inversions
- The stretch of I-84 between Hood River and Portland is particularly susceptible to ice and freezing rain
- High winds in the Gorge can make driving challenging for high-profile vehicles and trailers
- Occasional chain requirements are implemented on I-84 during significant winter weather events
- Always check Oregon Department of Transportation road conditions at tripcheck.com before departure
- Wind advisories in the Gorge can change quickly so monitor conditions throughout your drive
Winter Road Trip Tips for Tri-Cities Drivers
Whether you are heading to Seattle or Portland this winter, these tips will help keep you safe on the road:
- Always check mountain pass and road conditions before departure at wsdot.wa.gov or tripcheck.com
- Carry chains or have winter tires installed before attempting any Cascade mountain pass crossing
- Allow extra travel time as winter conditions can significantly extend your drive time
- Keep an emergency kit in your vehicle including water, blankets, jumper cables, and a phone charger
- Fill your gas tank before departing the Tri-Cities as gas stations can be limited in mountain areas
- Tell someone your route and expected arrival time before departing on a winter road trip
- Monitor weather forecasts along your entire route the night before and the morning of departure
- Consider delaying your trip if severe weather warnings are issued for your route
Make Sure Your Hyundai Is Winter Ready
Before any winter road trip from the Tri-Cities to Seattle or Portland, bring your Hyundai to Speck Hyundai for a complete winter vehicle inspection. Our certified technicians will check your tires, battery, brakes, fluids, wiper blades, and heating system to make sure your vehicle is ready for whatever winter conditions you encounter. A properly prepared Hyundai is your best defense against winter road trip challenges on any Washington or Oregon highway.
Schedule Your Winter Service at Speck Hyundai
Ready to get your Hyundai winter road trip ready? Here is how to schedule your winter service appointment at Speck Hyundai in Kennewick:
- Online: Visit our website and click "Schedule Service"
- By Phone: Call our service department directly to speak with a team member
- Walk-In: Stop by during service hours for same-day availability
Drive safely this winter season and enjoy every mile of your Tri-Cities road trip to Seattle or Portland. Our team at Speck Hyundai is here to make sure your vehicle is ready for the journey ahead.
How to Prep for Winter Driving
The information provided is for general informational purposes only and does not constitute legal, financial, or professional advice. While we strive to provide accurate and up-to-date information, we make no guarantees regarding the completeness, accuracy, or reliability of the information presented. Any action you take based on the context of this blog is strictly at your own risk. Always consult a qualified professional or specialist for advice specific to your situation. We are not responsible for any losses or damages arising from the use of this blog or its content.